Selected colour swatches
You can order up to 20 colour swatches
Create your own DIY magnets
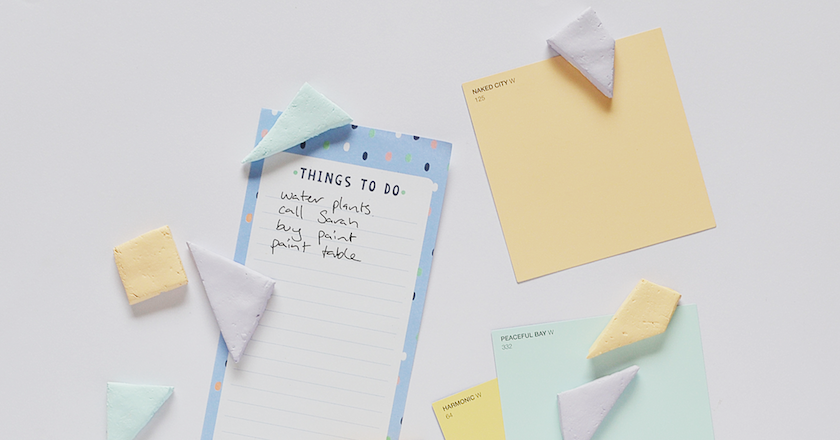
Turn old-school magnets into stylish décor with pops of colour in different shapes for around the house. With a touch of paint to match your colour scheme, magnets are the perfect accessories in your kitchen or home workspace.
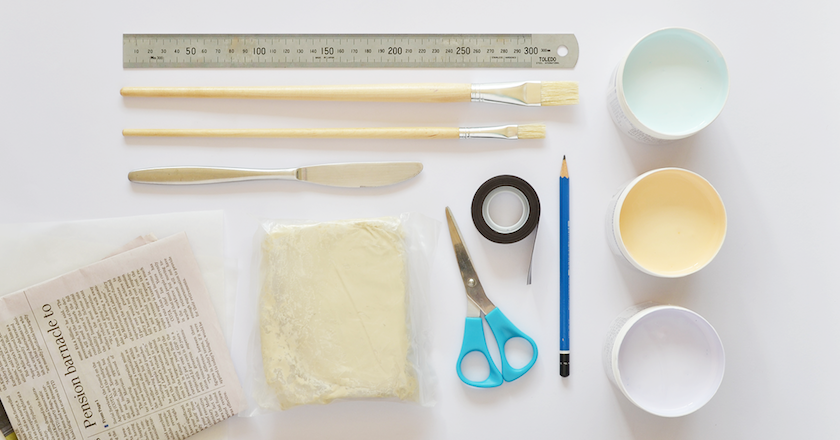
Step One
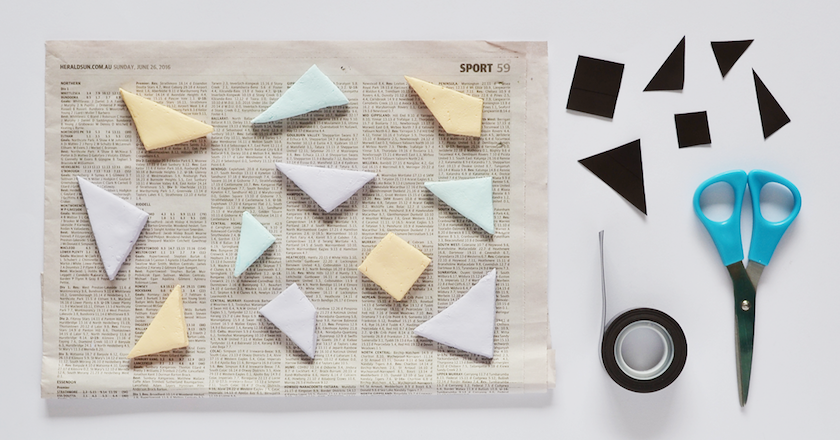
Find an easy to mould block of air-dry clay at a local art shop to use as the base for your magnets. Once you have this, you’ll need to purchase a self-adhesive magnet sheet. Rummage up a ruler, paint, brushes, knife and newspaper for protection and you’re ready to go.
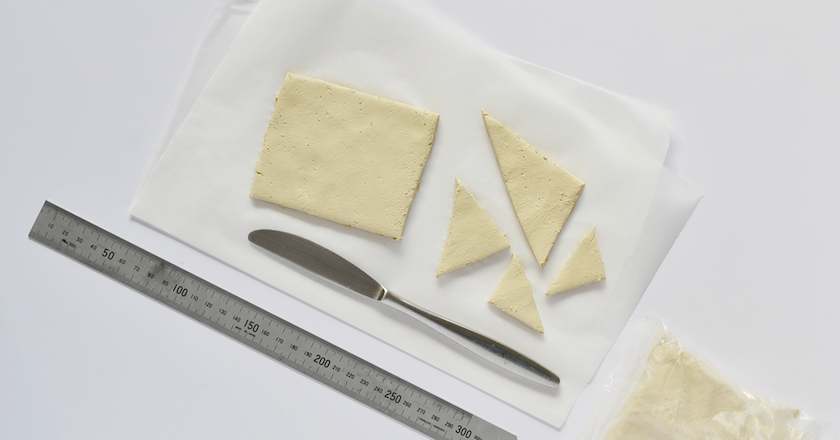
Step Two
Roll your clay into a rectangle about 1cm thick, then trace and cut out the shapes you want. For these magnets, we chose different sized triangles for a geometric look. Use a butter knife to simply slice the clay.
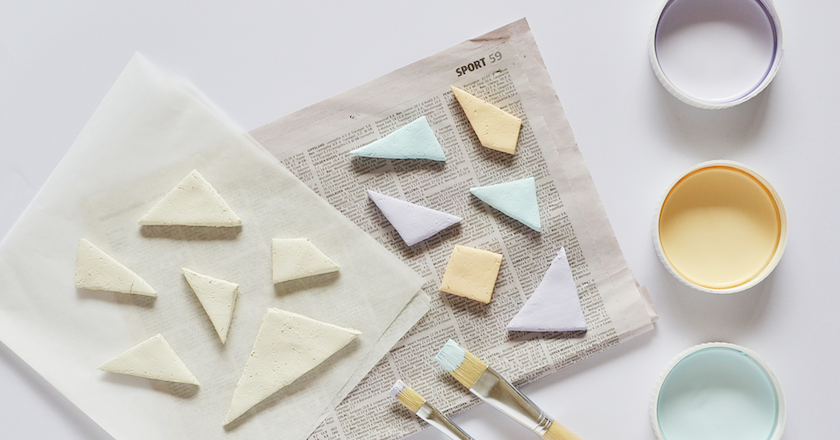
Step Three
Allow your shapes to dry in a cool, dry area for at least 24 hours before you start painting. While you are waiting, use your pencil and ruler to trace and cut out the same shapes from your magnet sheet so they’re ready to go! To paint the shapes, simply take a small paintbrush and paint one side of the shape your preferred colour.
Step Four
Now it’s time to stick the magnets onto the back of each shape ready for you to use. These are perfect little addition of colour for your home.
Share your favourite DIY project with us on Instagram @British Paints, using #BritishPaints